# Square setup
## Requirements
To complete the setup, you will need:
1. A login for the Square account
2. A [Square Terminal](https://squareup.com/au/en/hardware/terminal) device
- Note: the integration **does not** support the Square Reader
## Square permissions
To pair SETLS with your Square account, your Square login must have "full access" as shown below. Permissions are set in the Square Dashboard under **Staff > Team > Permissions**.
[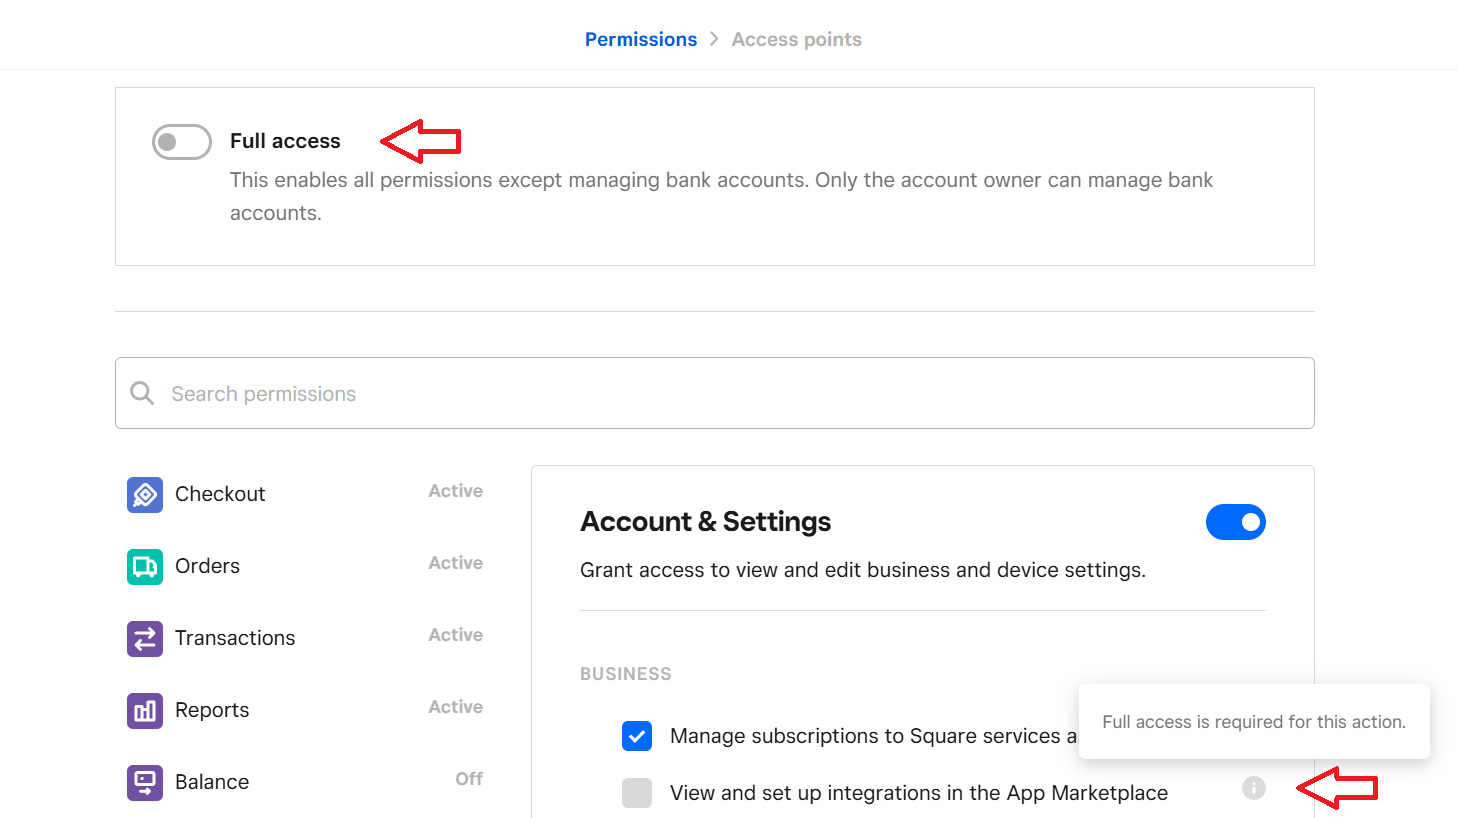](https://wiki.setls.com.au/uploads/images/gallery/2025-05/SNyimage.png)
When logging into Square, SETLS requests the following permissions on your Square account.
**Permission name**
**Used to**
MERCHANT_PROFILE_READ
PAYMENTS_READ
PAYMENTS_WRITE
DEVICES_READ
DEVICE_CREDENTIAL_MANAGEMENT
If you see the below screen, your permissions are not set correctly and you will need to see who in your team has full admin privileges for Square.
[](https://wiki.setls.com.au/uploads/images/gallery/2025-05/L6werror.png)
## Process
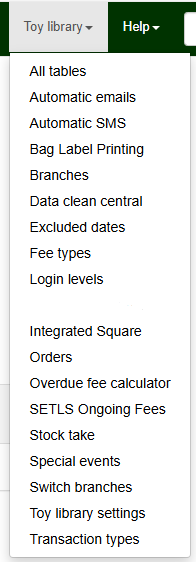
1. In the "Toy library" menu, click "Integrated Square"
- If you don't see this option, please contact
[](https://wiki.setls.com.au/uploads/images/gallery/2025-05/square.PNG)
2. Click "Connect to Square" and log into Square
[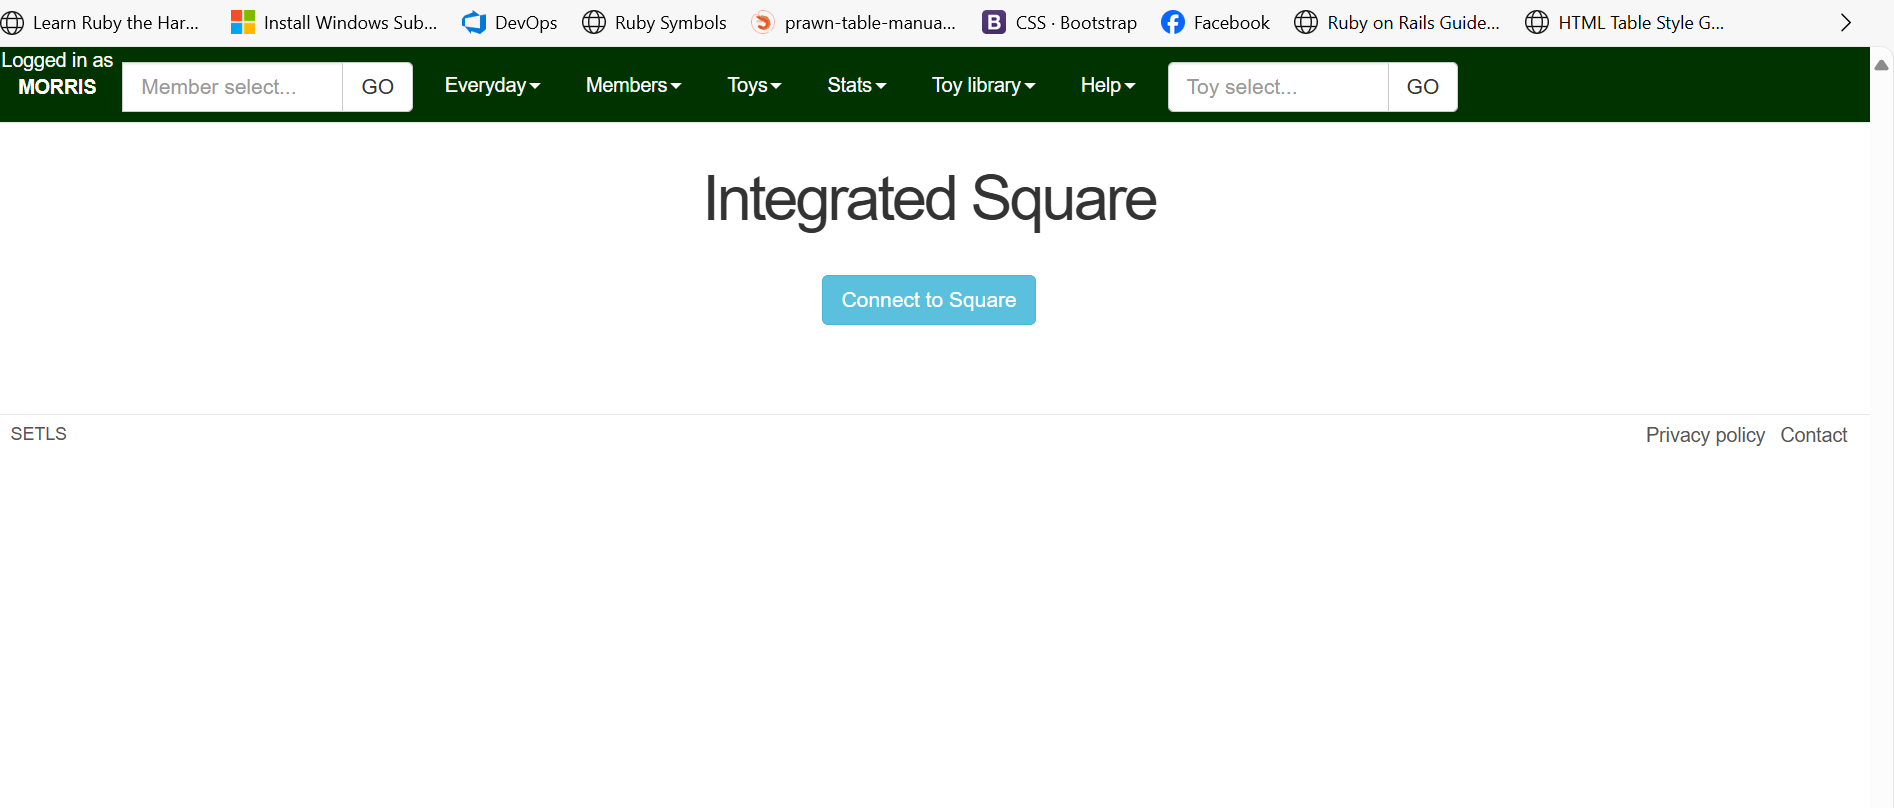](https://wiki.setls.com.au/uploads/images/gallery/2025-05/1.png)
3. The Square status page will refresh and show:
- Your Square "Business" and "Locations" details
- A new access token
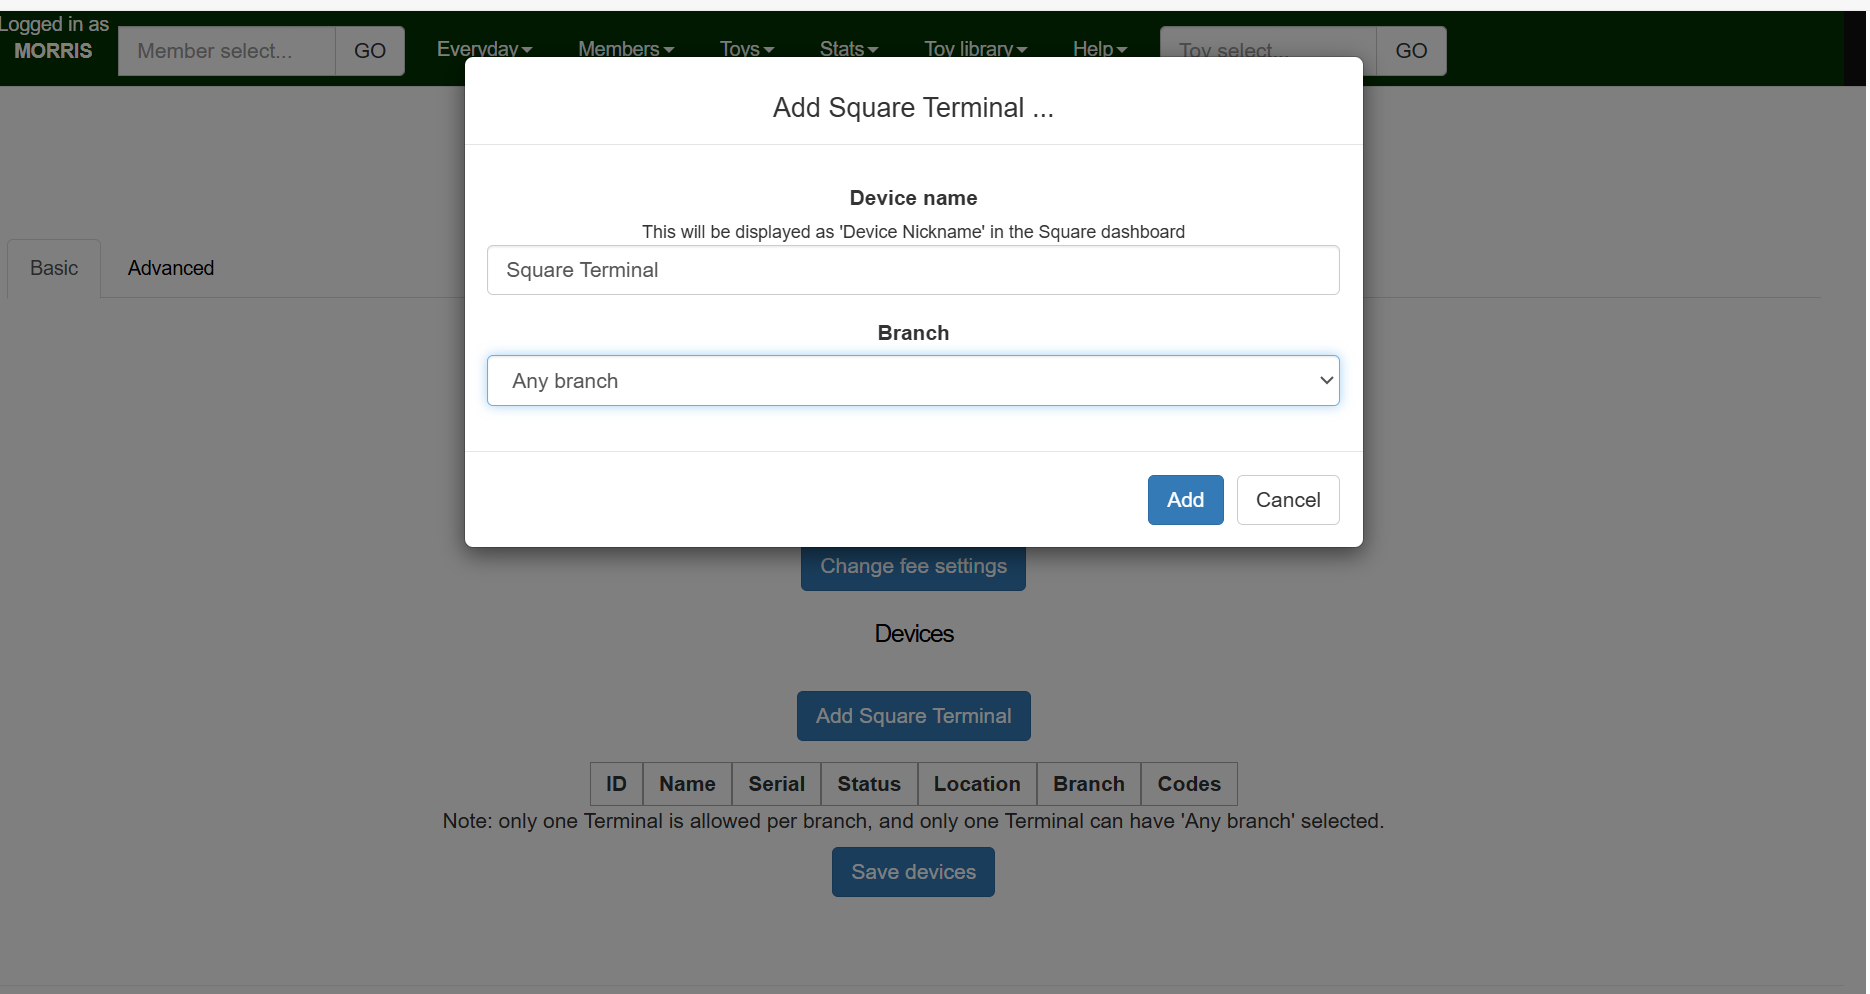
4. Click "Add Square Terminal" and set:
- Device name
- Branch (optional)
- NB: we only support one Terminal per branch
[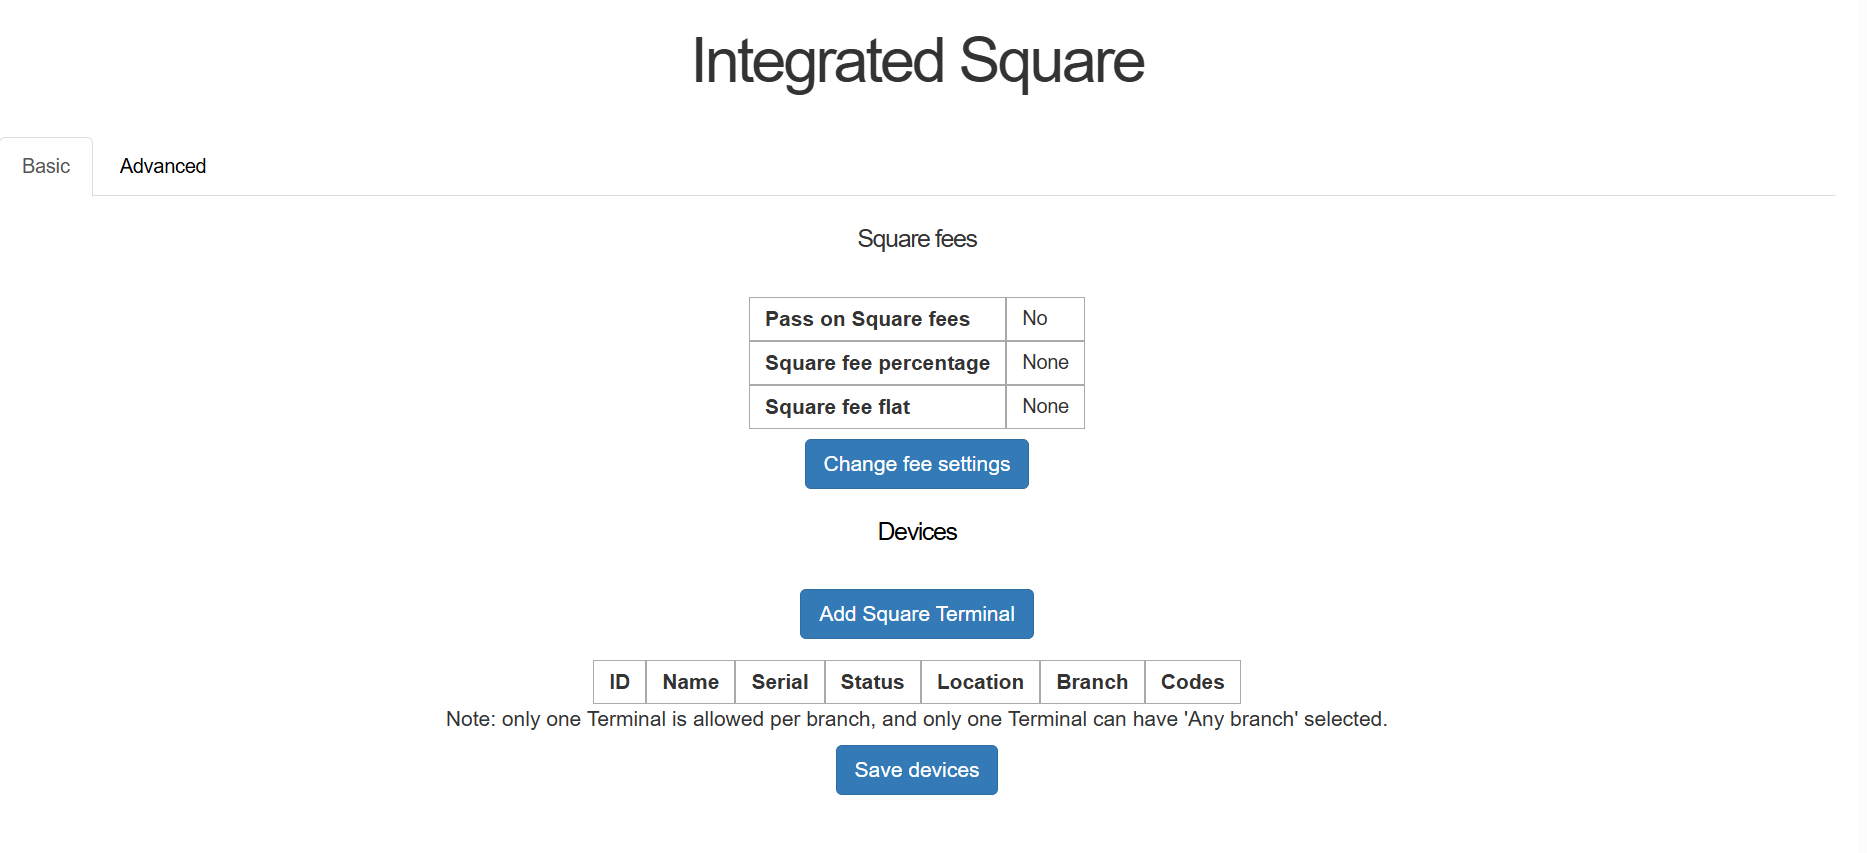](https://wiki.setls.com.au/uploads/images/gallery/2025-05/4.png)
5. Follow the on-screen instructions to log into the Terminal with the device code. When the Terminal is successfully paired, the dialog will close automatically.
[](https://wiki.setls.com.au/uploads/images/gallery/2025-05/5.png)
6. The Square status page will display the device details
[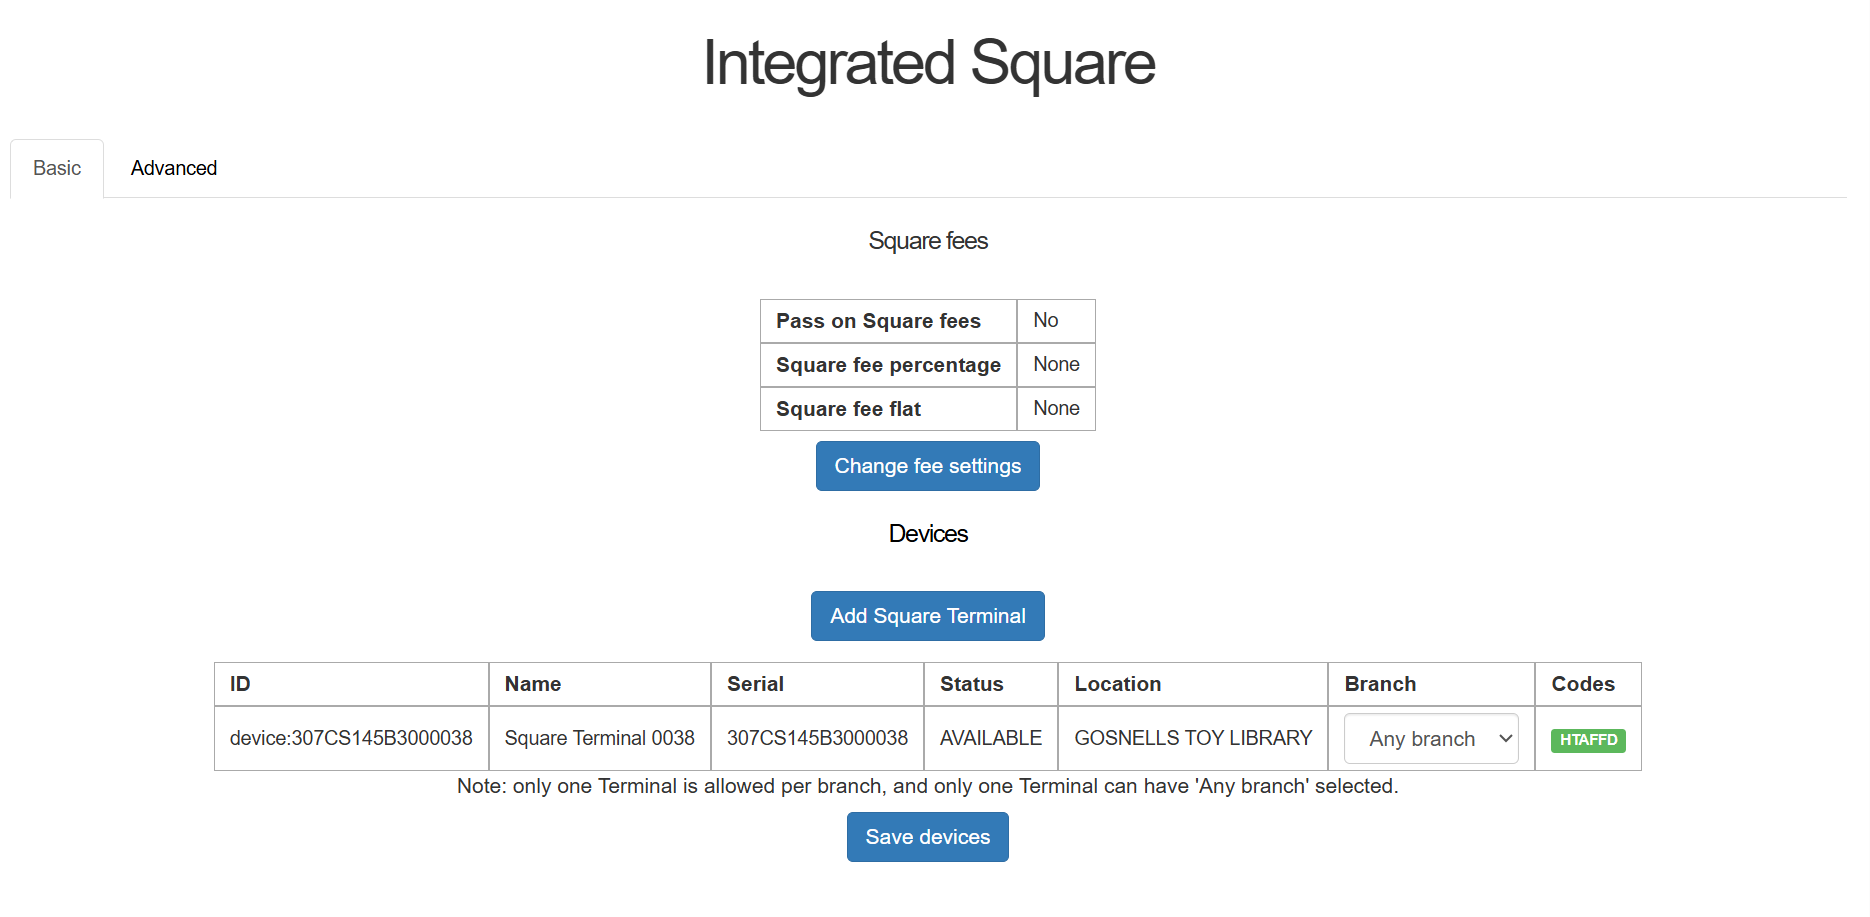](https://wiki.setls.com.au/uploads/images/gallery/2025-05/6.png)