Click and Collect
Setting Up Click and Collect (Appointments)
To use Click and Collect mode in SeTLS, turn on click and collect mode in toy library settings. This will enable your toy library members to click and collect toys from your toy library.
In Click and collect mode, there are a few more options available:
- click and collect session length in minutes: only one member may book per session. For example, you might choose for your sessions to be 15 minutes in length (and you can explain in the email about your flexibility with late/early members).
- click and collect message - this is printed on the A5 PDF summary sheets, and defaults to 'Please clean your toys before returning'
- number of hours before first click and collect session of the day members must confirm their basket. For example, you might like members to ensure their click and collect baskets are confirmed just 2 hours before your first session starts (8am for a 10am start) - or you might prefer a longer time, e.g. 10pm the night before your 10am start.
For members, we aim for this to be a very simple process, with just 3 steps:
- Choose a session, including a date, time, and loan_only/return_only/loan_and_return
- Put toys in your click and collect basket. Note that they cannot put reservable toys in their baskets, toys that are in anyone else's basket, toys that are on hold, etc.
- Confirm your session.
To begin this process as a toy library administrator, you will
- Turn on Click and Collect in toy library settings (Toy library -> Toy library settings)
- Edit the 3 Click and Collect automatic emails (Toy library -> automatic emails) to suit the style of your toy library.
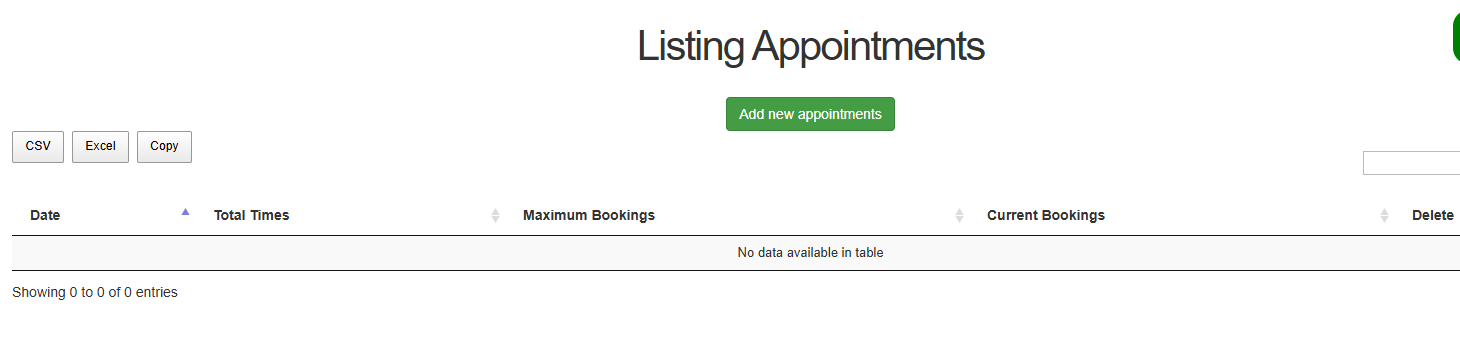
- In Toy Library drop-down menu, choose Appointments to see the screen below:

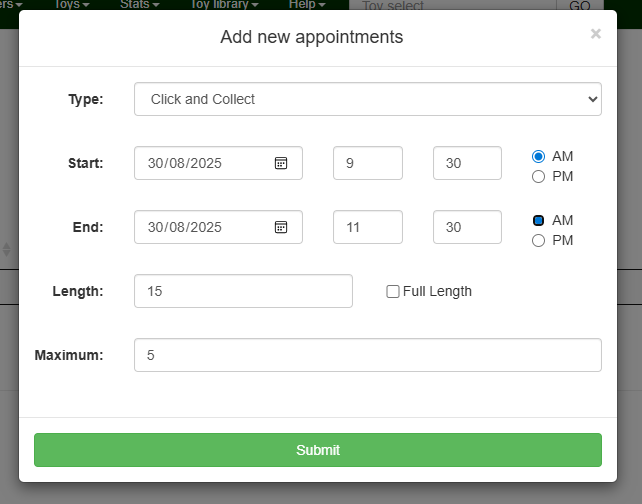
- Create One Appointment session by choosing Add new appointments. Fill in the time length you would like for the basket or bookings. Note that we recommend not creating click and collect sessions more than, say, 1 week into the future, otherwise your toys will be unavailable to other members, while they are waiting in a click and collect basket.
At this point we can only create single-day appointment sessions, not a range of dates.
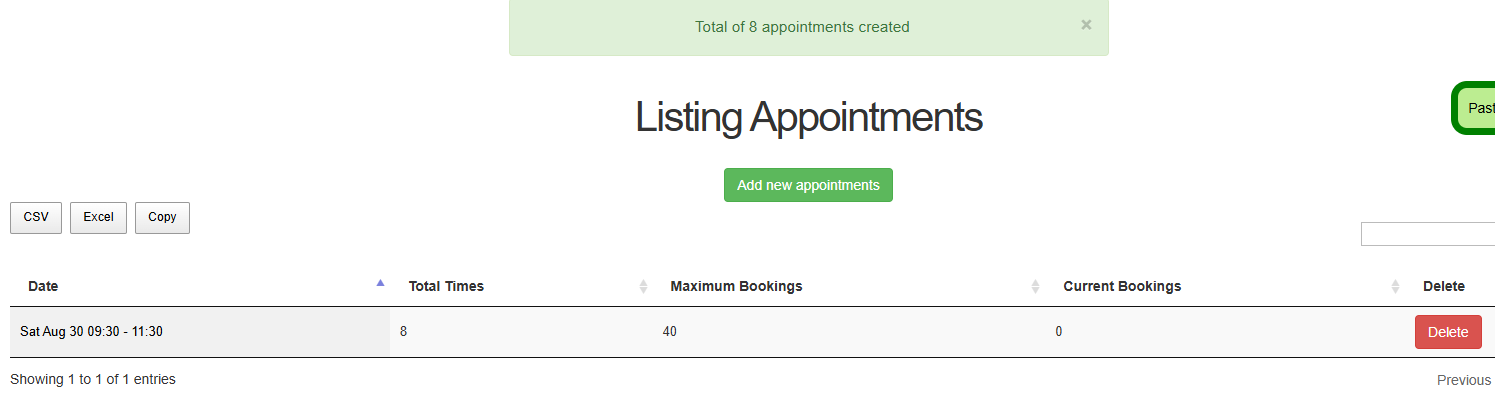
Hit Submit to see the following screen:
- Wait for your members to create baskets and fill them with toys.

- Before your session opens for the day, collect your toys and wait for your members to arrive and hand out the toys. There are two PDF documents to assist with this: (a) an overall summary, which lists toys to collect for each member, and what time they will arrive, (b) one A5 landscape page per member, with their name in very large type, so that that piece of paper may be included atop their pile of toys. We chose A5 so that you can either cut in half existing A4 paper, or you can buy A5 paper outright.
- For each member, you can click the "loan toys" button on their click and collect page, which will destroy their click and collect basket, and they will now turn into ordinary loans. If your toy library has rental charges enabled, the fees will be applied at this step.

There are 3 kinds of automatic emails relating to the click and collect feature.
- Click and collect created - when the member first creates a click and collect basket. This email should outline the rules of your click and collect system, and encourage them to put toys in their basket and confirm before the cut off time.
- Click and collect confirmed - can list the toys a member has put in their click and collect basket.
- Click and collect basket is still unconfirmed - these email will go out each night, reminding members who have unconfirmed baskets that they should finish and confirm their basket.